How Datafinder email validation works
Step 1: Prepare your spreadsheet file.
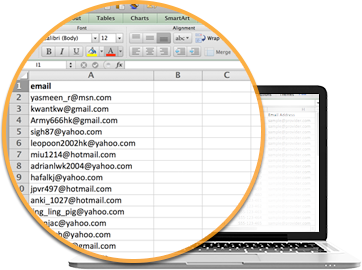
Your spreadsheet needs to have all data on a single sheet, with only one Input type per column. For example, all of your Email Addresses will be in one column. The file will need to be saved as a .CSV file.
For Email Validation you will need to have at least an email address in your file.
For more information about exporting your spreadsheet to .csv, see the How to export your excel file to a .csv FAQ section.

Step 2: Upload your file.
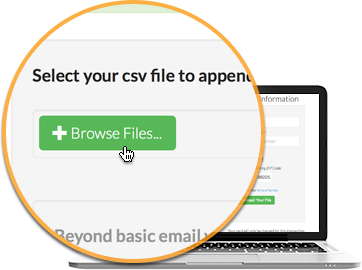
Once your file has been set up and saved as a .csv file, you are ready to upload. Simply, go to the "Upload A File" page and select the file that you would like to upload.
Datafinder will update the Invalid email addresses with as many Valid addresses as we can find. By updating your customer list with current, deliverable email addresses, Datafinder helps you stay connected with your clients.
To take full advantage of this feature please include as many of the following Input types as you can. These Input types are in addition to the email addresses you will provide. If your file contains more than 5,000 email addresses, there is an additional fee for each valid email address added. Please see the Email Validation Pricing page for details.
- Phone Number
- Postal Address
- First and Last Name
Your data is safe with us and will never be sold to a third party.

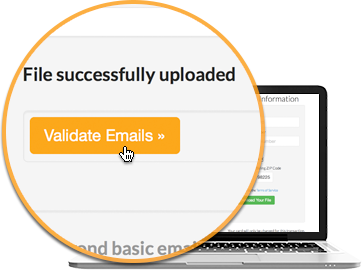
Step 3: Click the Validate Emails button to get started.

Once your file has been uploaded, you are ready to proceed. Click the Validate Emails button to start the Email Validation process.
Step 4: Verify the content in the columns of your file.
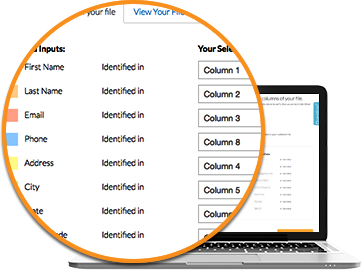
Review the drop-down fields to verify that we correctly identified your columns or make corrections. Once verified, click the "Finish" button to finish your email validation job.

